I’ve always been a huge fan of the work by Canadian artist Andrew McDermott! And so I’m pleased as punch that he agreed to write a guest blog for HowToPastel with a focus on how to loosen up. I hear this request a lot – How can I loosen up? – so I know this guest post is going to be super helpful!!
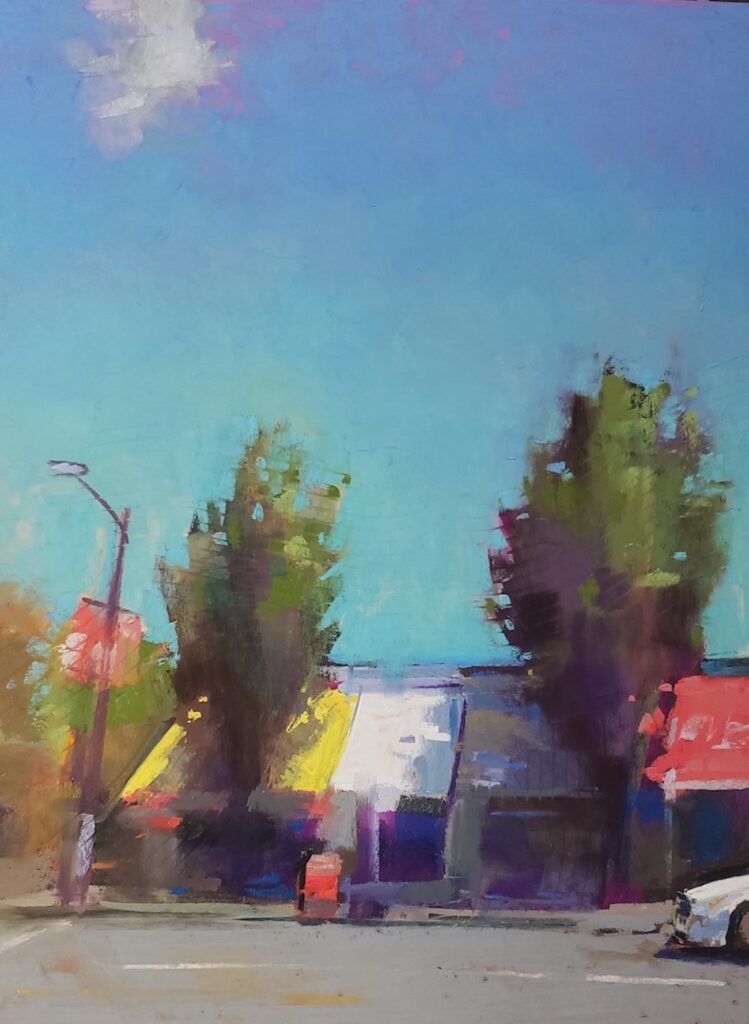
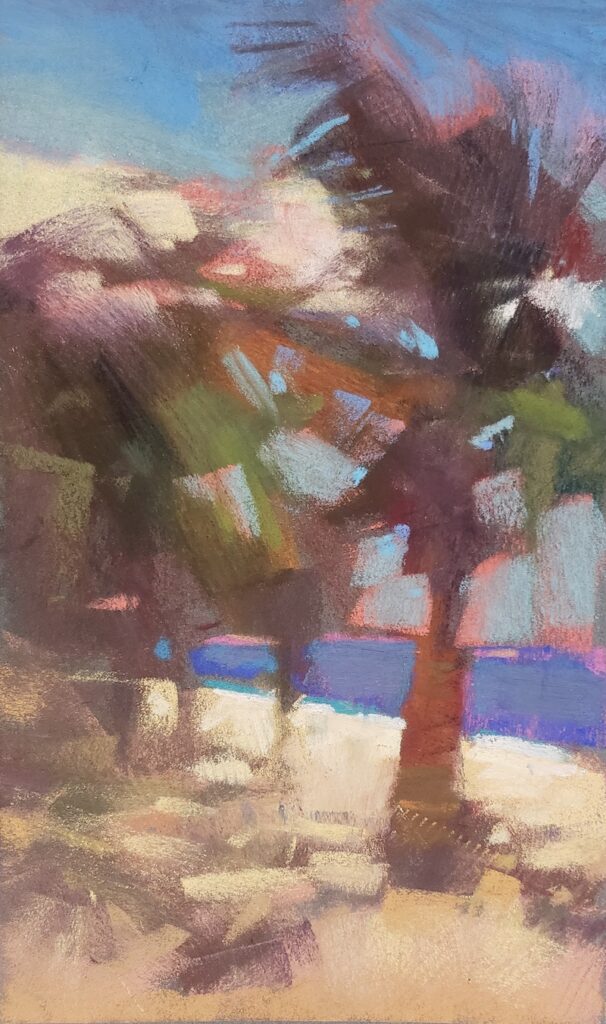
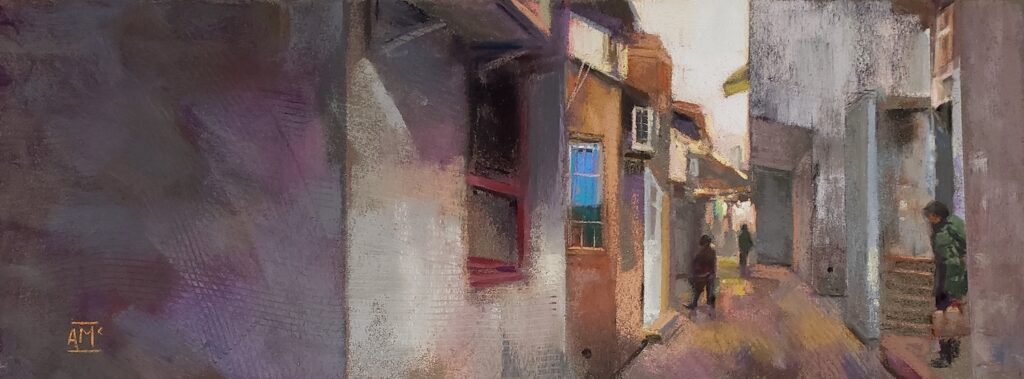
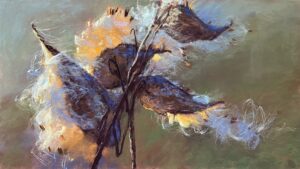
Don’t know Andrew McDermott’s work? Here’s a taste of what’s in store for you! (It’s one of my recent favourites of his work!)
Before we go on, here’s a wee bit about Andrew.
Andrew McDermott Bio
Andrew McDermott is an IAPS Master’s Medallion Circle member. With many International Awards, he’s also been featured in articles in top art magazines such as International Artist, The Artist UK, Pastel World, Magazin’art, and the Pastel Journal. Andrew is a popular workshop instructor and teaches at Capilano University and the Vancouver Film School. Check out his website for more info and images. Make sure to go and check out his stunning life drawing work!!

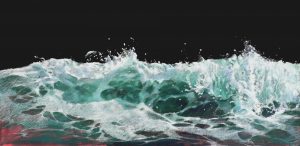
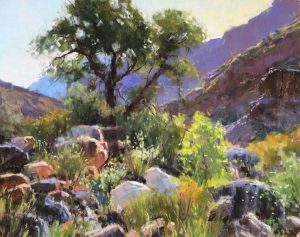
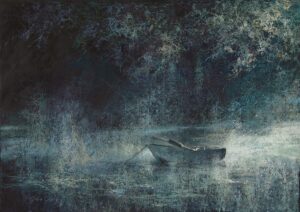
A couple of notes before I hand you over to Andrew McDermott. I’ve scattered Andrew’s paintings throughout the post. And, at the very end, you’ll find an in-depth step-by-step demo showing his process of working. What a treat!!
Now here’s Andrew McDermott!!!
~~~~~
One of the most frequent questions I get from students in my classes or workshops is: “How do I loosen up?”
Well, it’s a good question, and funnily enough, I’ve never had that problem. In fact, I had to practise how to get more details and to have tighter areas. Why do I paint loosely?
It started when I was young. I recall looking at my first paintings as a child. I remember seeing Monet’s work and noticing that it wasn’t a photo. I noticed colour smudges everywhere, yet they still created a scene. That was my spark into the world of art.

Here are some points you can think about if you want to loosen up a little.
1. Drawing and/or painting from life is key to becoming a better artist, illustrator, and/or animator. To me, it’s a fundamental experience that often gets overlooked by some people. It’s like not knowing the words of a song before you sing. In working from life, you simplify and edit out many elements of detail. This work is actually beneficial for the rest of your work. Control details retaining them for certain areas of interest.

2. Drawing and painting can be easily mixed and combined in artworks. By shape massing and working from large shapes to smaller details, you will have the freedom to move things around at any point. Resist outlining your subject. Drawing with linework is fine. However it can be restricting and you may, at moments, need to paint outside your lines. By just blocking in areas of colour, you can easily interplay backgrounds and foregrounds, creating defined and undefined borders. Painting your pastel paintings upside down can help you see the shapes more clearly.

3. Quick-timed sketches help you to think of the overall composition and colour scheme of the painting and help keep your coloured sketches fresh. Give yourself 10 to 20-minute time limits for a small study. This will help you to not overwork your pastel piece. Sketches don’t need to be done before your pastel painting. If you get stuck halfway through your painting process, or even when trying to finish a painting, then stop. Take a break and create a small sketch. It may help you move forward with your work.
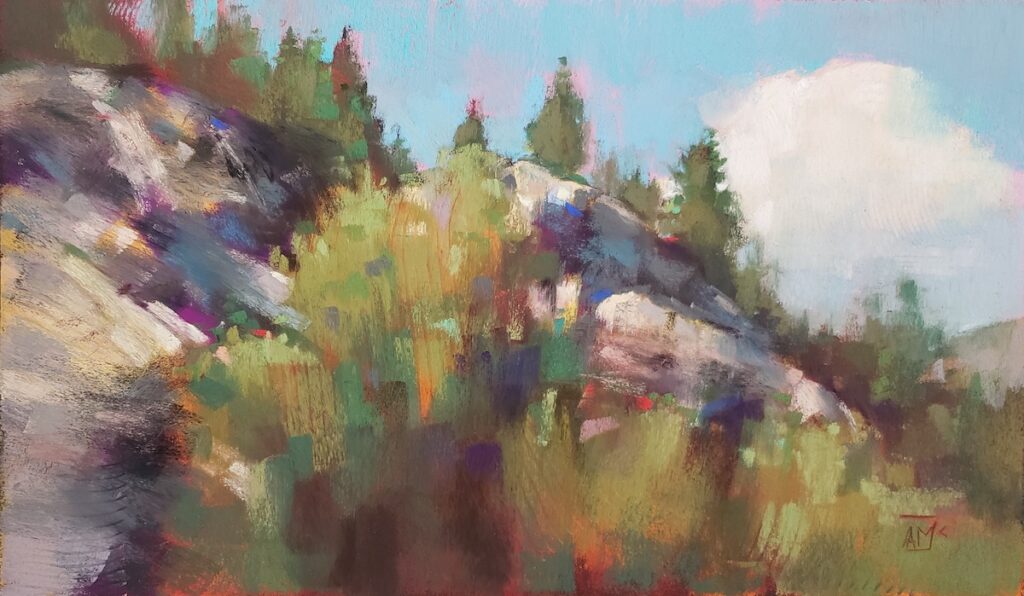
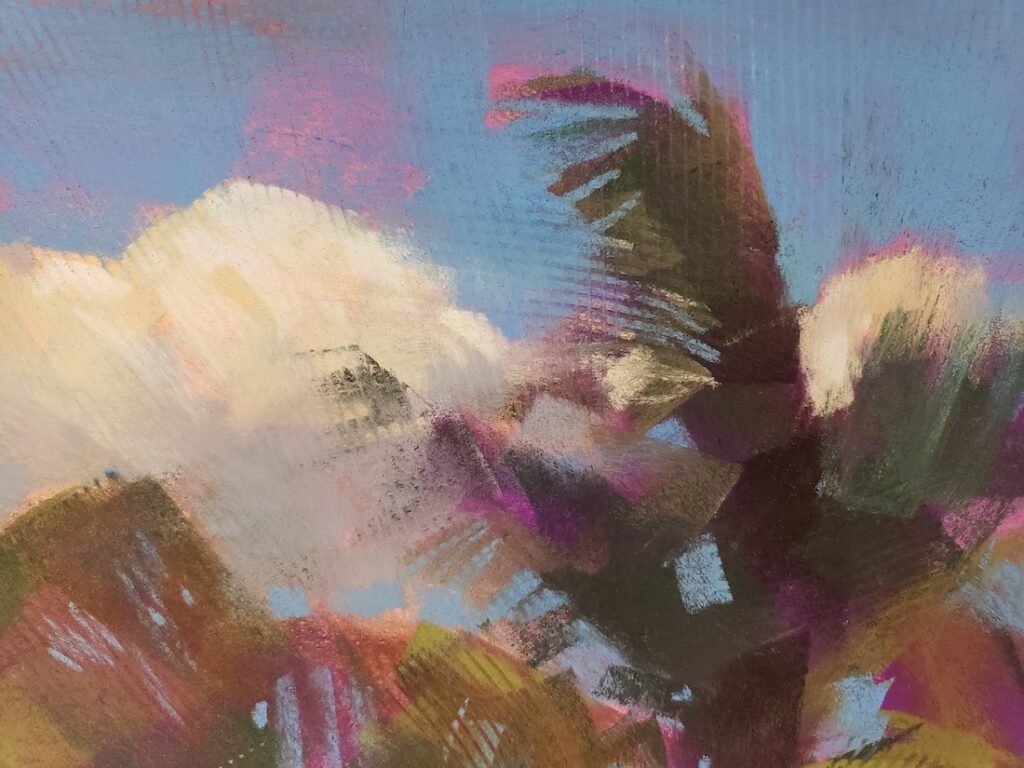
4. Try and create textures. I have experimented and found if I use a comb to scrape into my pastel paintings, it will break up my edges and create visual movement. The tool I love at the moment is a rubber modelling triangle. It has three sides with a fine, medium, and coarse tooth edge. This gives me a wide option of fine to course textures depending on the area of the painting. For example, with reflections I can use a coarse texture while for the sky, I might use a fine tooth. Following the contour and using directional strokes can show action and movement even when used over vibrant or more mundane colours.

5. Continually underworking your painting is helpful to maintain a loose painterly look. When I pastel or paint, I always underwork meaning I don’t finish off areas right away. Stopping before you think you’re finished will prevent you from the obvious overworking of areas. You can then add the details to the specific areas you wish to focus on as you work to guide the viewers’ eye around your scene.
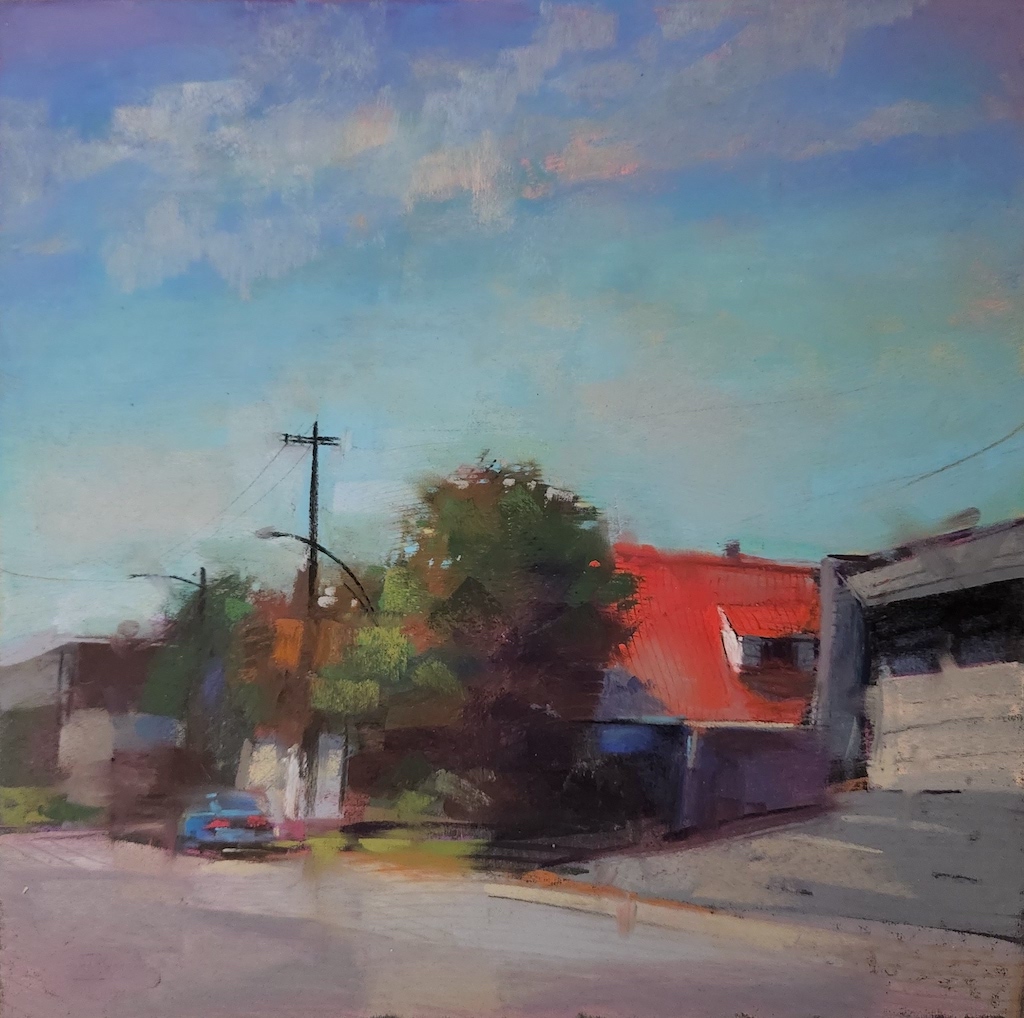
Other ways to loosen up:
- Stand up at an easel when pastelling and pull back to look at your painting every once in a while.
- Try using the largest pastel sticks.
- Kill some details by smudging out your pastel with a blending stick or your finger.
- Limit the number of pastel marks you make.
- Squint. This simplifies the lights and darks
- Have a mental note that when you start to pastel, it’s going to be a practice piece only. This can make you less anxious and allow you to have less expectations of yourself.
- Bottom line? Just have fun and paint what you love.
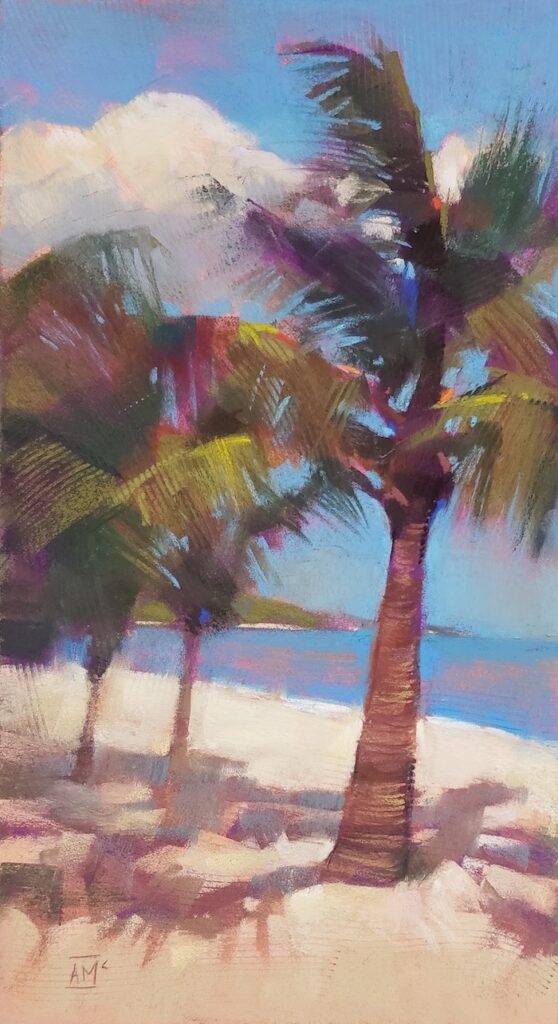
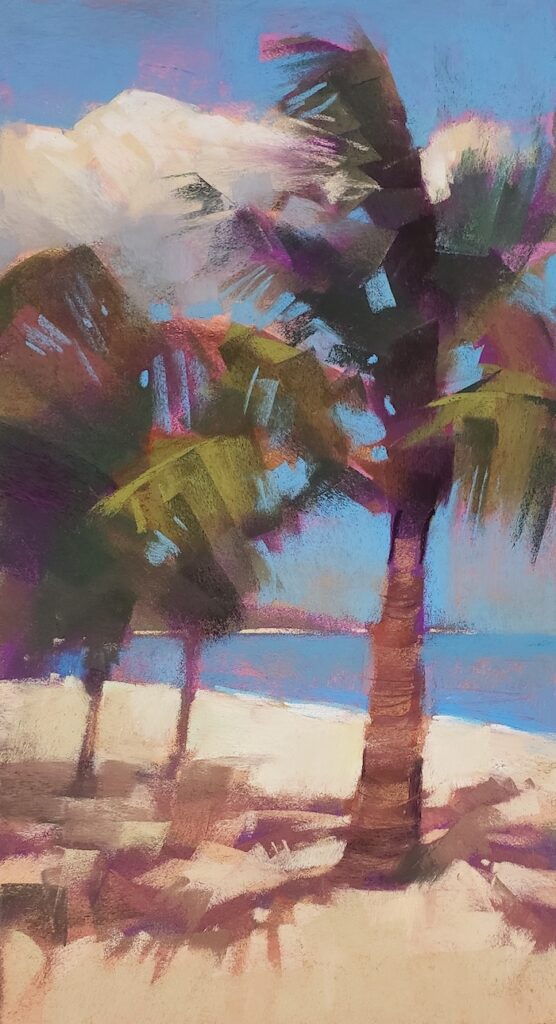
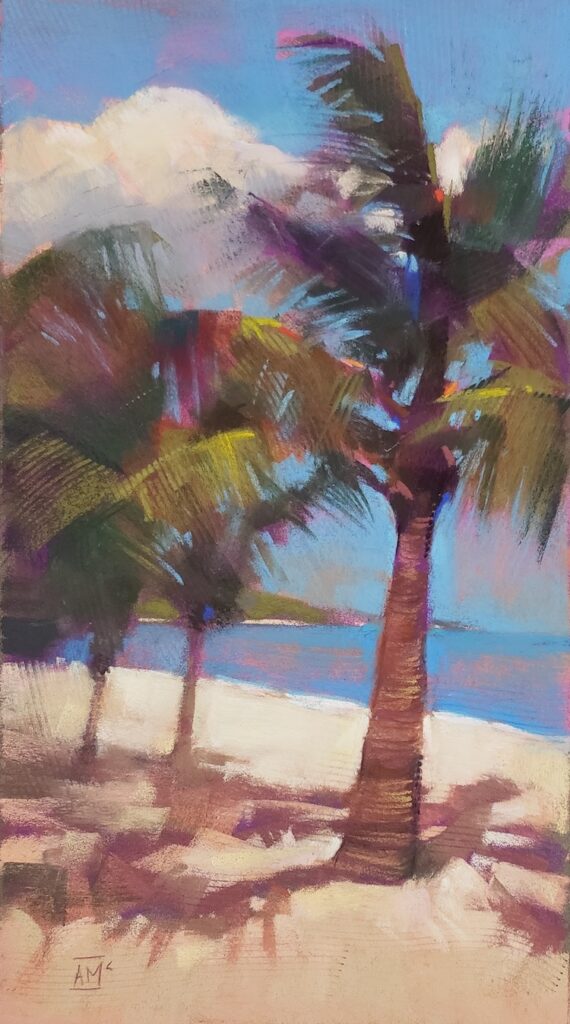
Now let’s look at the progression through the painting, Palm Trees
Step-by-Step Progression
Stage1
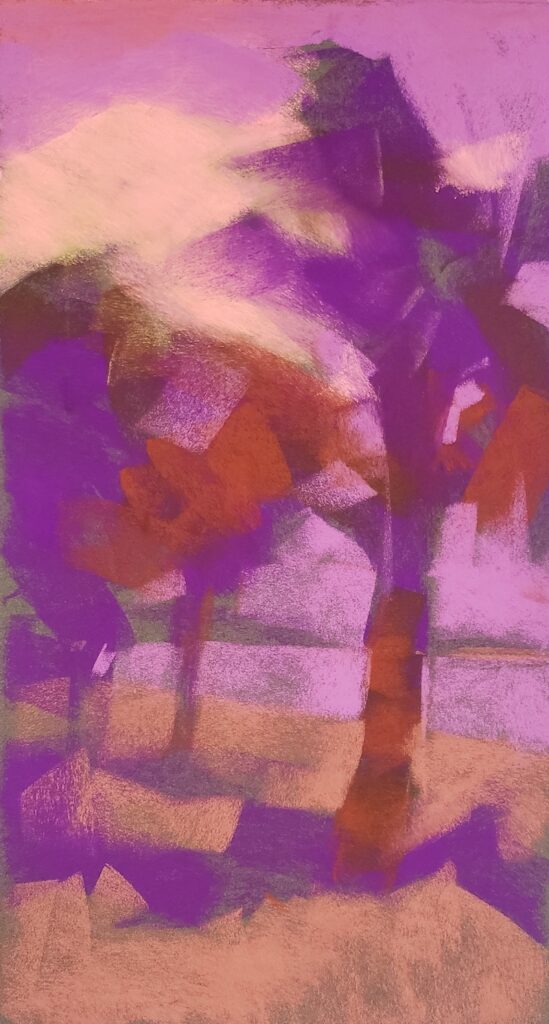
Here I used a broad Jack Richeson pastel stick in warm purple to block out my main shapes and the silhouettes of the trees.
Stage 2
Keeping with warm colours, I continued to block in the sky, beach, and clouds. Even at this early stage, I was thinking about my values, where are my lights and darks are going to be.

Stage 3
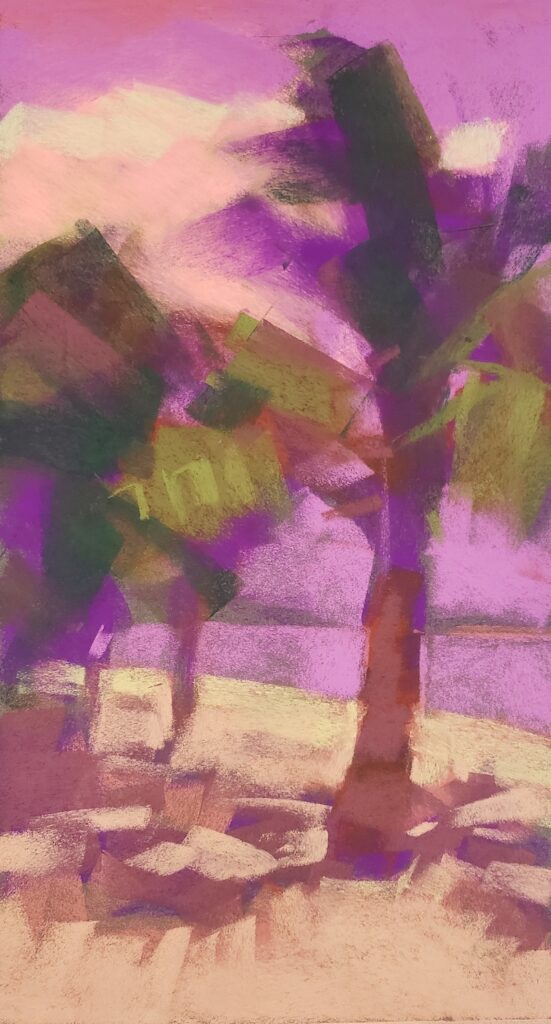
I started to add a lighter colour over the clouds and beach. I also added a few greens of different values. I’m still thinking of the larger shapes and holding off on the details.
Stage 4
At this stage, I begin to add my sky, using a soft blue pastel. I vary the weight and am pressing so that some of my underlying colours blend into the blue. Varying the blues both vertically and even horizontally can be helpful.

Stage 5
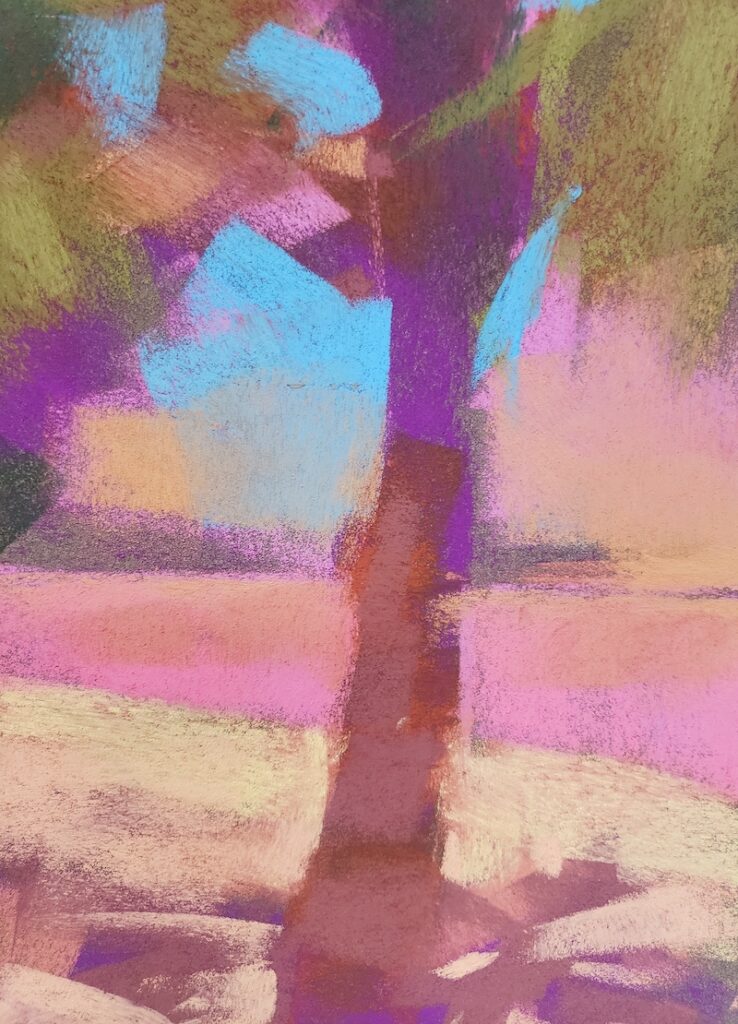
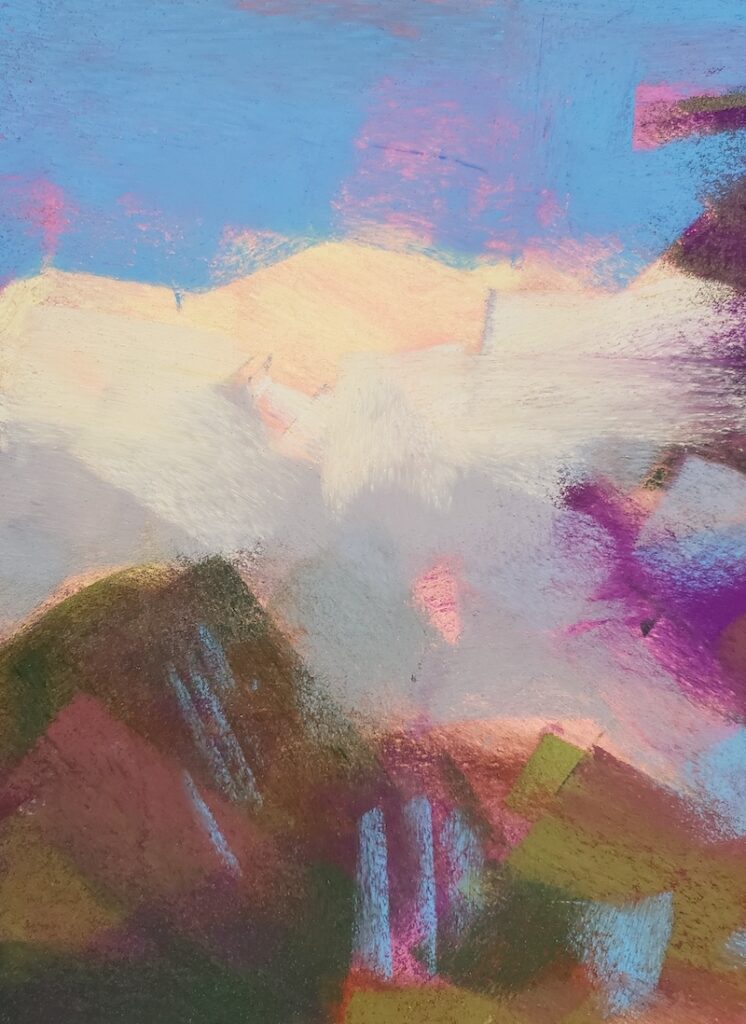
At this stage, I start thinking about my beach sand colour. Beach sand comes in different colours, some lighter, some darker. (See details below.) If you choose to edit and change the exact colour then go for it. Who’s to know? I also added some grey to the bottom part of the clouds.


Stage 6
I continued with the beach, making sure I lightened the top and continued to darken the foreground section of the beach. I started to think about the smaller shapes and so I made some additions, adding more details in the background. I lightened up the palm trunks and added more to the leaves.
Stage 7
At this stage, to create more visual interest, I created textures. I use a comb and my rubber triangle to streak out the colours. I press hard and brush across my surface. I think about the direction of my strokes as the textures aid in guiding the viewer’s eye around the scene.


*****
Ohhhhh let’s see what you do with these tips from Andrew McDermott on how to loosen up! What’s your fav? Which is the one you are going to try today (or real soon)????
Be sure to leave your comments and questions for Andrew!
Until next time,
~ Gail













17 thoughts on “Andrew McDermott – How To Loosen Up”
How exciting! I am registered for a class with Andrew here in Sidney, in November. I can hardly wait. Love the use of colour and the movement in his pieces… Just love it..
Ohhhh lucky you!!! You are going to love his class!
Followed your advice and checked out his figure drawings, oh man, he’s really really good. And diverse! Thanks Gail!
Yes!! He is really really good indeed! An amazing artist! Thanks for checking them out Herbert!!
What a great article, one of the best! Thank you Andrew, thank you Gail
Whoo hoo!! That’s so awesome to hear Morag!
Really great article! I love the use of that hot pink for the initial block in—and there’s just enough of it still visible in the final painting—that’s just really cool!!!. One thing that I want to try is using a comb or that modeling triangle or even something else to scrape into my pastels. I just love the idea of adding textures (and patterns!) that way. It adds interest and allows some of the under colors to poke through—love it! Plus, it seems to work no matter what the subject matter is! Thanks for sharing these insights!
Yes – that gorgeous colour for the underpainting!!
It’s interesting about the texturing. It’s easy to do in paint but because there is less coverage by pastel. one might not think of using the same tools. And yet, Andrew makes it work! I am keen to give it a go too Mary!
I recently saw a video of Andrew’s, and I’m totally fascinated with his big marks and shapes. He makes it look easy to bring the painting to life, but I’m not yet able to do that loose look! Beautiful and full of action! Love his works!!
Agreed – about him making it look easy, about his fabulous marks, about paintings full of like and action! I’m curious about the video you saw Ruth. If you still have the link, feel free to add it here.
Thank you so much Gail for hosting Andrew McDermott on How to Pastel.
And Thank you Andrew- this is just what the Dr ordered.
I’ve always been detailed and sensitive in drawing and skumbling loosely when painting. With pastels I’m still finding my feet and leaning more towards painfully careful painting. Painting fairly quickly from life during then31 day challenge has been good for me.
Point two- colour blocking – I have to try that (I say as I complete a line drawing for my current painting #1 of a series. I’ll try working without a line drawing for my second attempt.)
I’ve seen people using this method for painting in oils and I’ve been wondering if it would work with soft pastels. Face palm – why didn’t I just give it a go? I have done colour blocking with a loose sketch but not totally line free.
Looking forward to allowing my next painting to emerge naturally.
Thank you Andrew.
Every morning the first thing I see is the (print) painting of a flamenco dancer that gave me the dream to paint when I was a toddler. it is bright bold and expressive. I need to live the dream again.
Many tanks Melanie for sharing your reaction to Andrew’s guest post as well as your own art journey so far and your hope to implement Andrew’s colour blocking ideas!
Go live the dream again!
I am an 80 year old lifelong engineer mentally and love to do detailed and “tight” charcoal figure drawings in my retirement. I am captivated by pastel
(I don’t like to paint per se) figure and landscape drawing and trying my hardest not to be so tight and overly detailed. I have viewed many, many tutorials and /or articles for help to no avail. Most of these just demo and do not provide a way of thinking. THANK YOU! This blog is most helpful and just what I need to start my new journey into pastels.
Hi Joseph, thank you so much for your lovely appreciative comment! I’m sure Andrew will love hearing it too 😁
I’m so happy you did an interview with Andrew McDermott! His demo on Pastel Live was probably one of my favorites. I would really love to see the video that Ruth mentioned too. Thank you so much for this great interview.
I also LOVED his demo Mary. I hope Ruth can find and share that video!
First attempt in progress
I can see that working from a photo is more challenging for a looser style due to the static pose. So I can feel the desire to follow up with a more detailed portrait is near the surface but enjoying the process immensely. Thank you Andrew McDermott.