Painting en plein air is a rewarding experience but usually has challenges. My own work is often done in a quiet(ish) spot as much as possible away from people and activity. This is not the case with this month’s guest blogger Nancie King Mertz! Nancie seems willing and able to set up just about anywhere – she sees something she wants to paint, she sets up. Often this is in her home town of Chicago but it can be anywhere she travels.
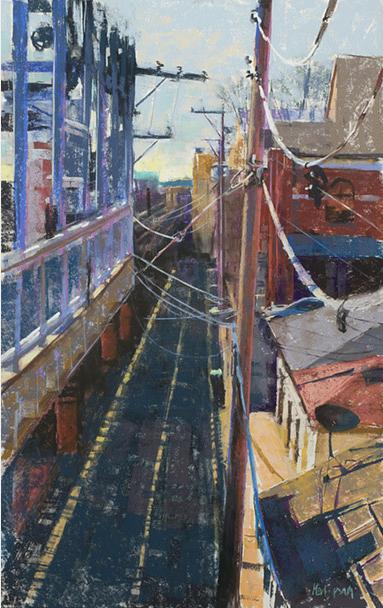
I’ve featured her work a couple of times in monthly round-ups (for example, click here). In case you’re unfamiliar with her work, here’s a teaser:
Before I hand the blog over to Nancie, here’s a bit about her.
Nancie King Mertz Bio
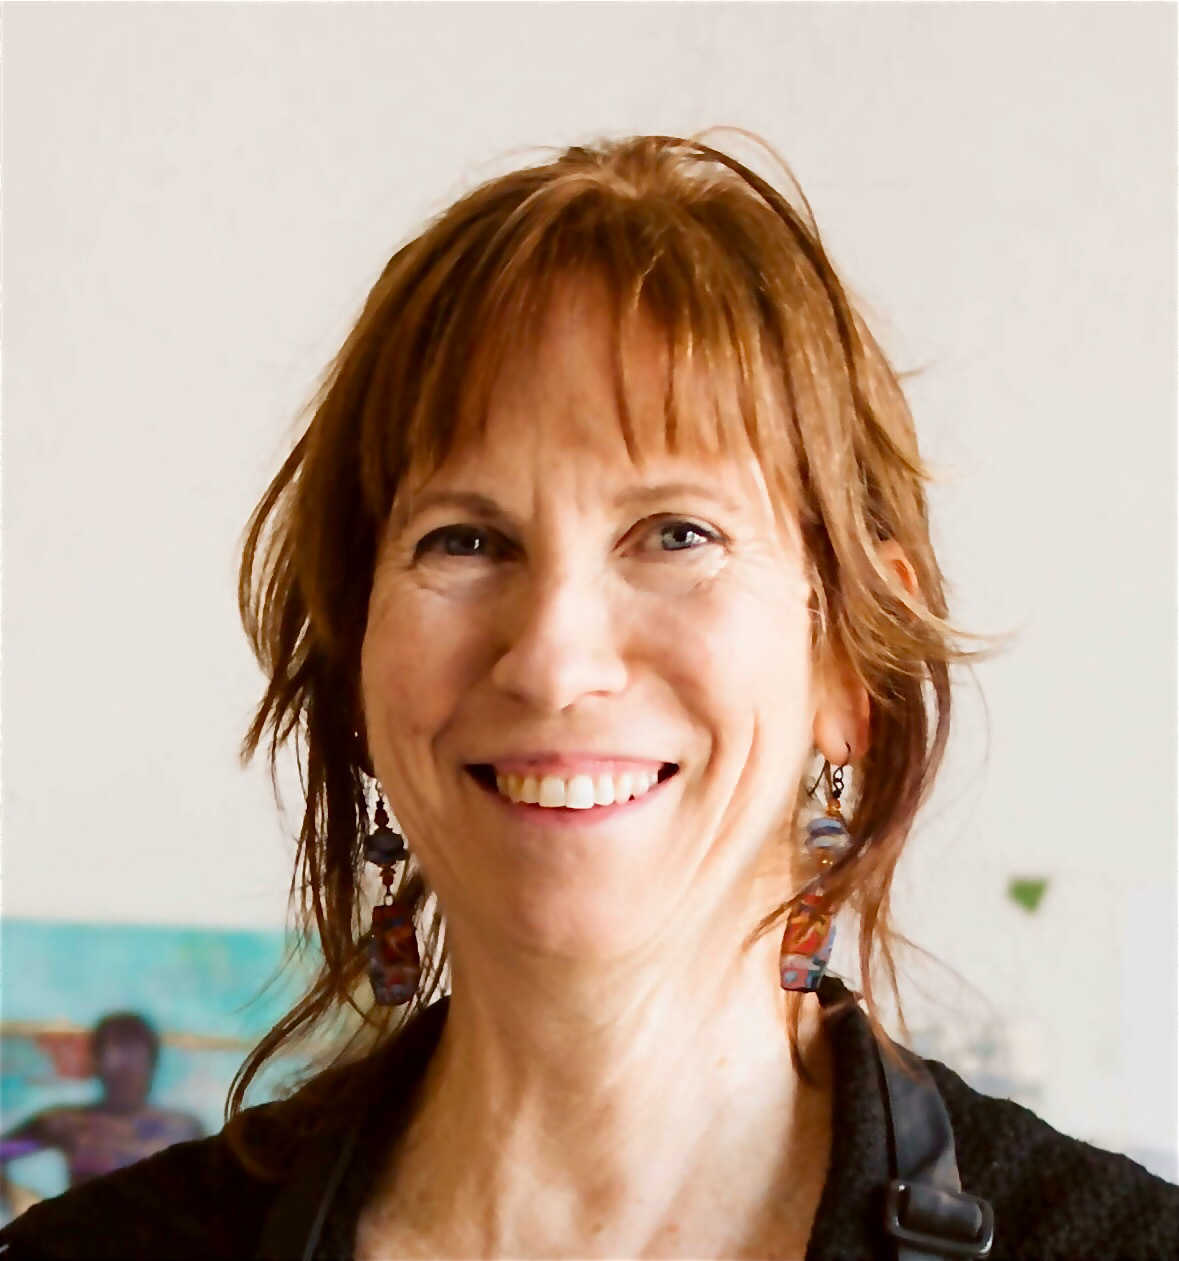
Nancie King Mertz is a Master Signature member of PSA, CPP and IAPS. She serves on the faculty of the Plein Air Convention and the International Association of Pastel Societies (IAPS) as well as an instructor for the Pastel Society of America (PSA) in New York City. Working both in oil and pastel, 75% of her work is completed en plein air. However her preferred medium for travel/outdoor work is pastel due to its immediacy and simple set-up. She owns and operates a gallery/framing company she started while a painting student in college. ArtDeTriumph & Artful Framer Studios in Chicago is celebrating 38 years. Click here to visit her website.
Nancie created a painting just for this post and explains her process step-by-step. You’ll see that below along with a number of images from Chicago and her travels around the world.
And now, here’s Nancie!!
~~~~~
As a pastel and oil plein air painter, I feel very fortunate to live in a truly beautiful city: Chicago. Our former mayor and his wife were huge fans of Paris and it was their mission to save many of the architectural treasures from the wrecking ball and to create a feeling of Europe in the Midwest. They believed in public green space for all and landscaped boulevards, providing shade and color throughout the city.

Their efforts provide a limitless array of wonderful painting sites, from Michigan Ave to the river with its many varied bridges; Millenium Park and its expansion overlooking Lake Michigan; and the historic buildings, restored and scattered throughout the city. Of course a favorite subject of mine to paint, an iconic part of Chicago that has been here since its infancy, is the EL – the train and the tracks, above and below, create challenging value patterns on the ground and silhouettes in the sky that beg to be painted.

Painting in a busy downtown area can be intimidating, so I seek places that I know are safe and heavily populated. Often I will set up on the raised median of a busy street or behind the traffic cones of a construction area to get just the right view, but also to be out of the way of streams of pedestrians. People are respectful and kind but always want to tell you about their grandparent who was a painter and that takes away valuable time as the light changes!

Although I work in both mediums, I’ve found pastel to be much more conducive to plein air painting: no color mixing, easy set up, and the drawing aspect of the medium helps me nail the composition more easily than with a brush.
The painting always starts with charcoal ‘tick marks’ that I place as a loose map to indicate object placement and perspective. I’ve found that if I start in without this map, my objects become too large and suddenly I’m out of space on my surface to include all I had intended!
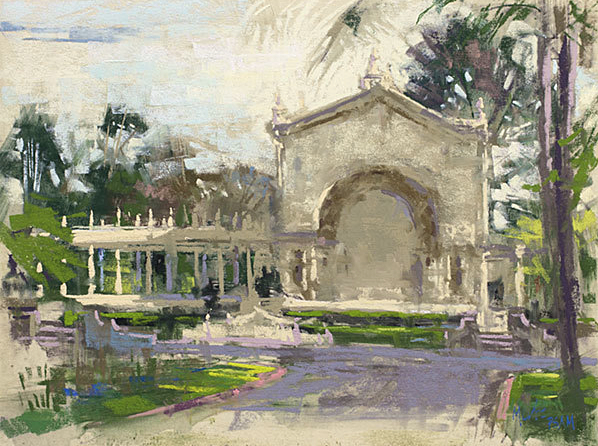
I spend less than 5 minutes planning the composition this way and then begin laying in the dark shapes with broad strokes from the side of the pastel. Once all the darks are in place, I wash them in with denatured alcohol, using a fan brush (Richeson Grey Matters is most durable), letting the color run and drip. As in oil painting, the thinner the darks, the more transparent they are, adding richness to your painting.
I leave the white of the surface as my lights at this point. If I use the lights early-on, they can muddy the darks if corrections are needed. The midtones are then applied where required, and on top of the darks, continuing back and forth until I feel it’s time to bring in the lights.
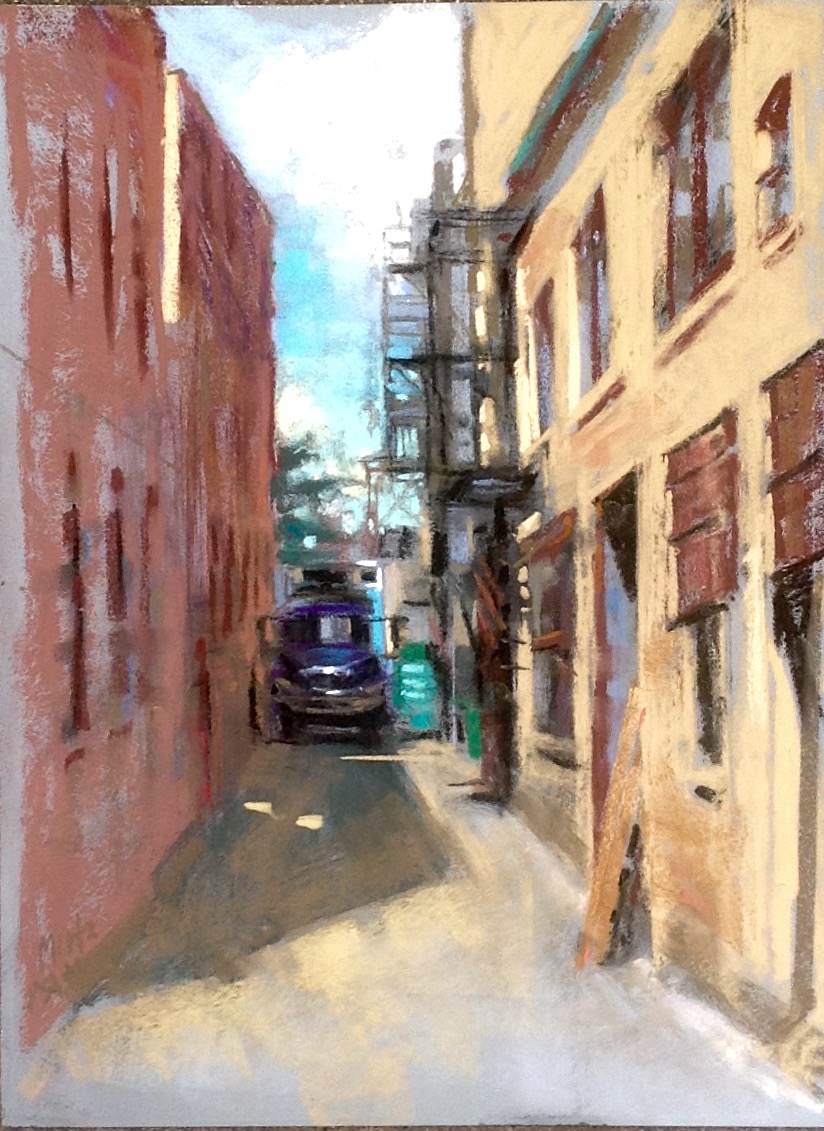
With the lights, I can get rather forceful, slathering them in, leaving lots of pigment. Spots of color (“candy”) are also added at the end, such as traffic lights, headlights, etc.
Because I like to slather-on heavy pigment at times, I make certain to pre-mount the surface I work on, such as Wallis paper, UArt, etc. Since I own a frame shop, I have the advantage of using our dry mount press to mount these papers to Gatorboard using a heat-melt archival tissue for bonding. For those of you who prefer to mount your own papers, there are roll-on and spray adhesives on the market, and UArt, Jack Richeson and Ampersand all offer pastel boards that are ready to go.

And now for the progression through a painting that I created specifically for this blog post. I’ve included seven steps in this process so you can clearly understand the technique I use.
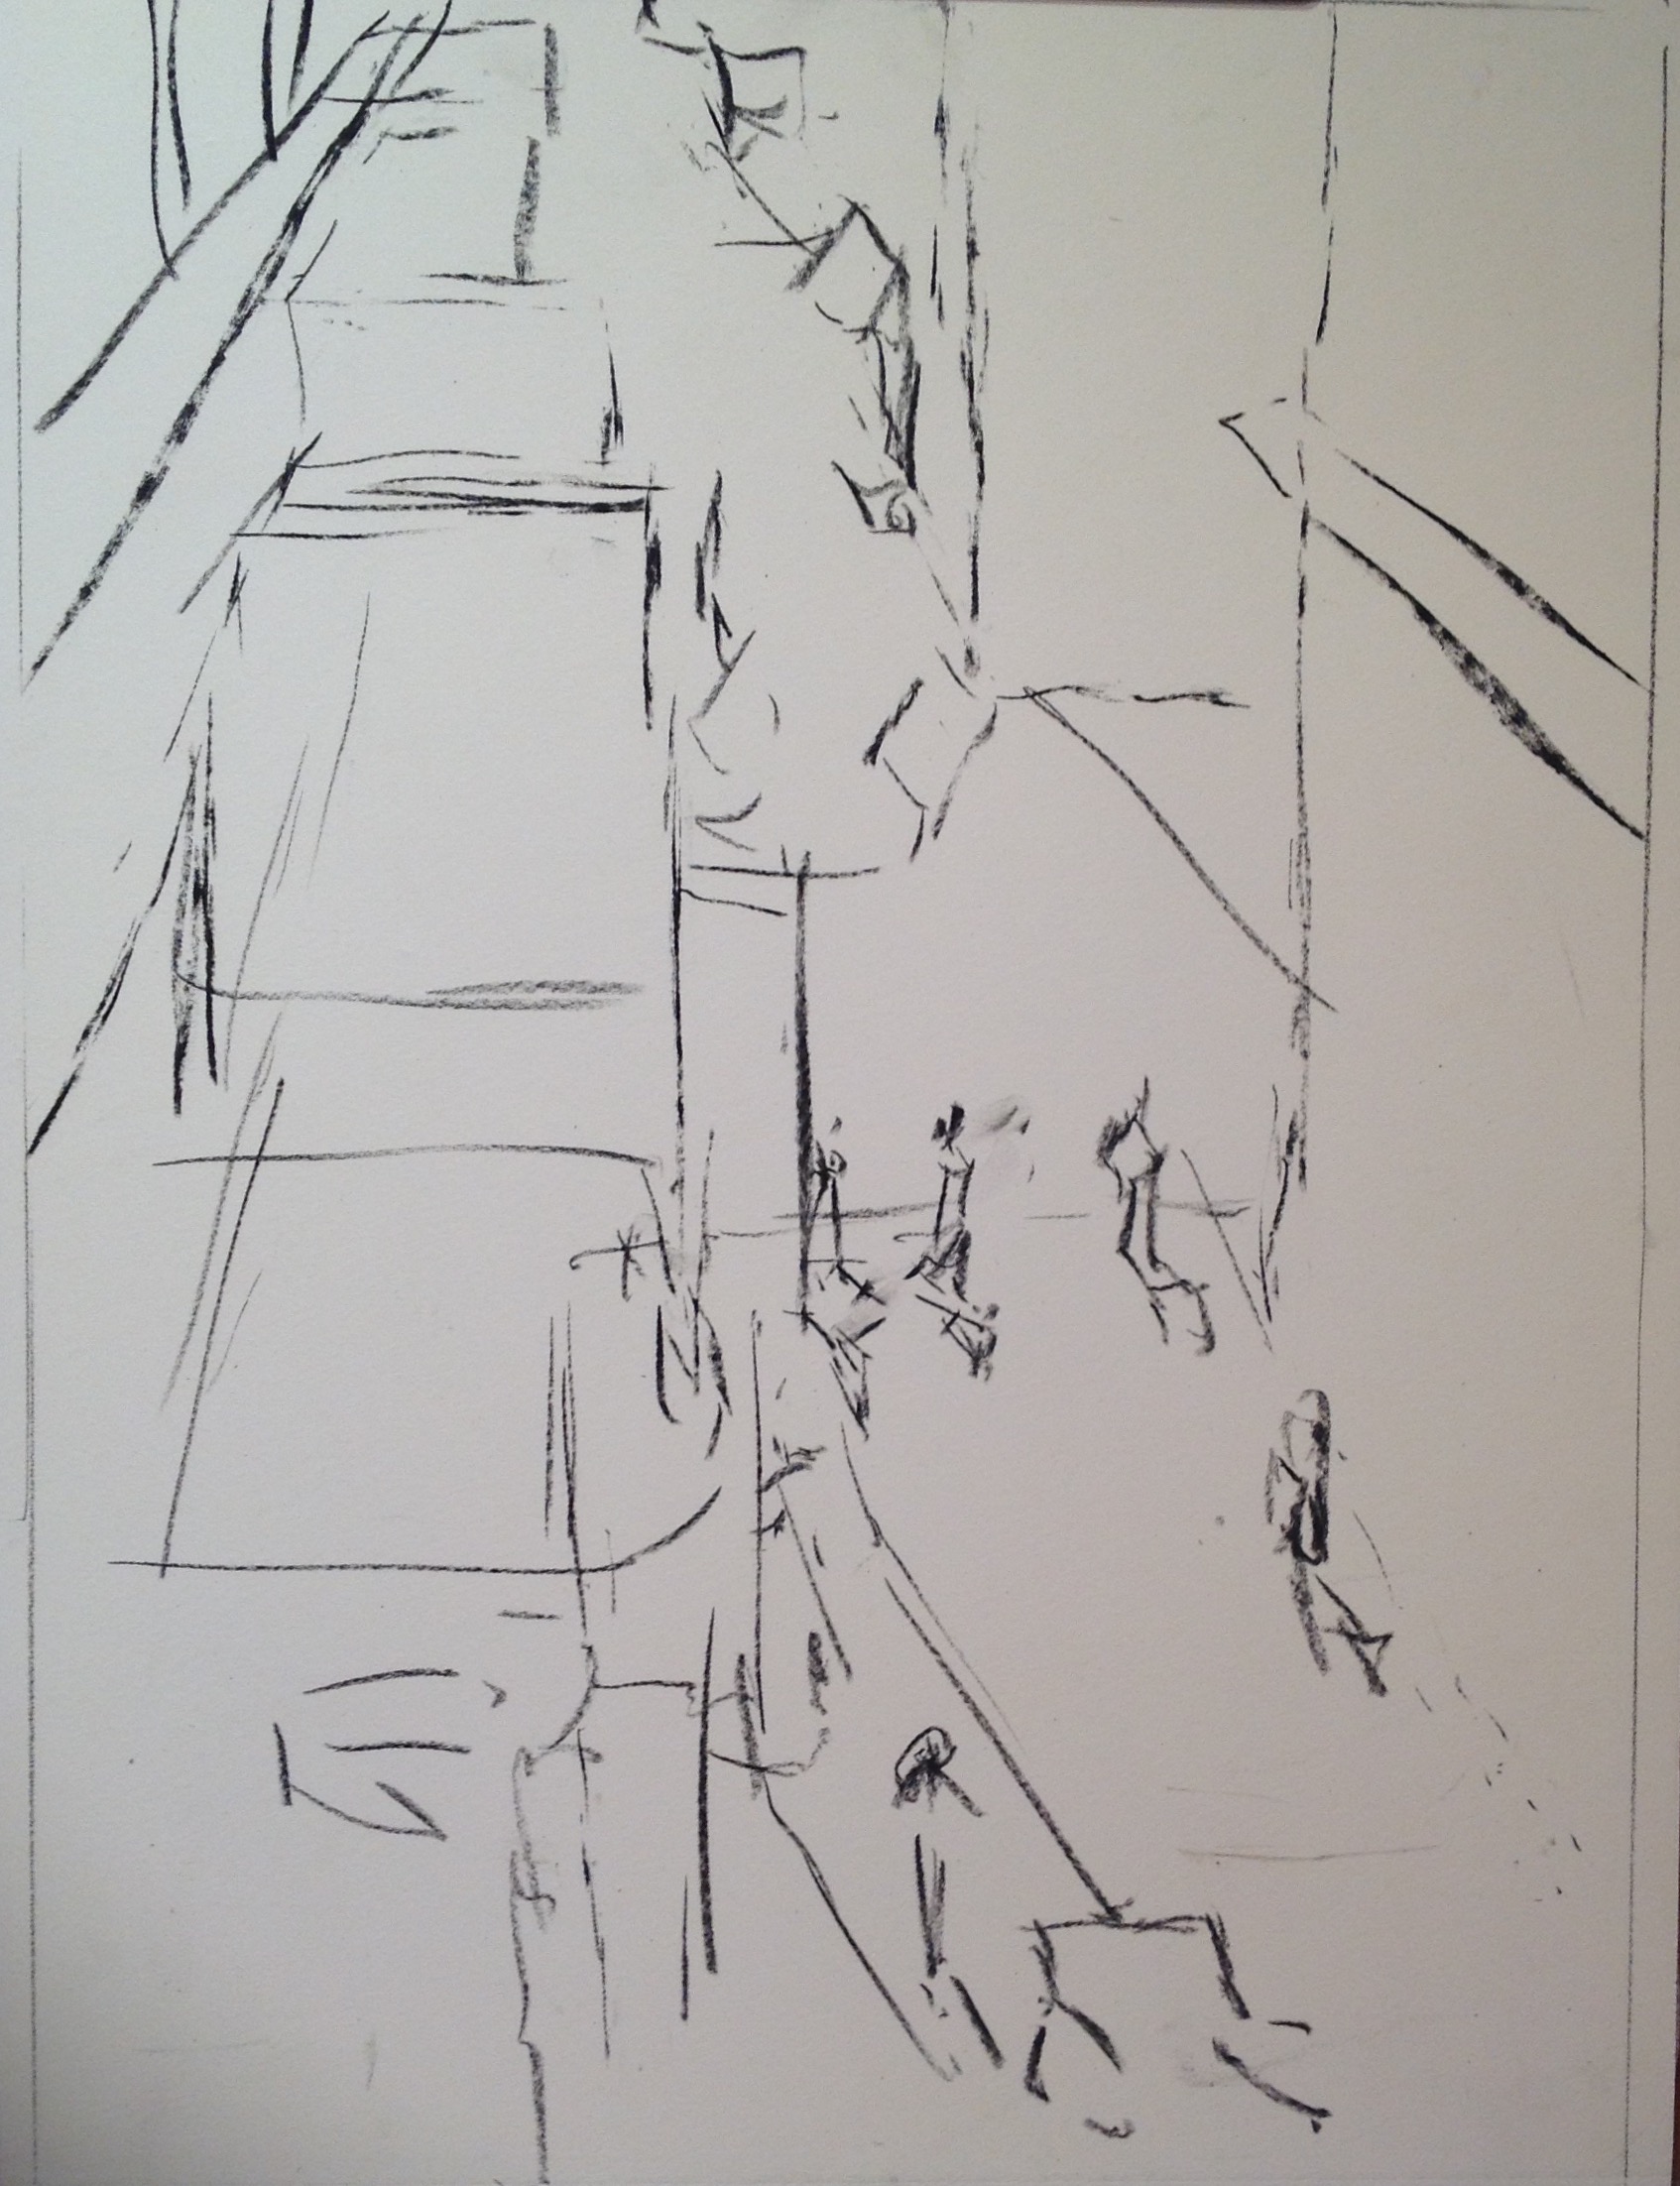
Step 1: Carefully look at what you want to include, examine the perspective, and make the correct directional map on your surface to capture what’s important. I use “tick marks” as shown – others do a smaller thumbnail in the same proportion as their painting surface. I’m embarrassed to say I’m not patient enough for that. When I paint -especially plein air – I am SO excited to start that I have to work right on the surface. So “tick marks” it is.

Step 2: After stepping back to check that the tick marks are correctly placed, I begin adding the darks in broad strokes, using the side of the pastel. Great Americans and Terry Ludwig pastels are perfect here because of their flat sides. Big dark shapes are the focus at this stage and please note that only the light of the paper is visible at this point. To begin with both lights and darks will only lead to trouble as the piece progresses. The lights will muddy the darks if you need to layer or make corrections – keep it clean and simple for now.
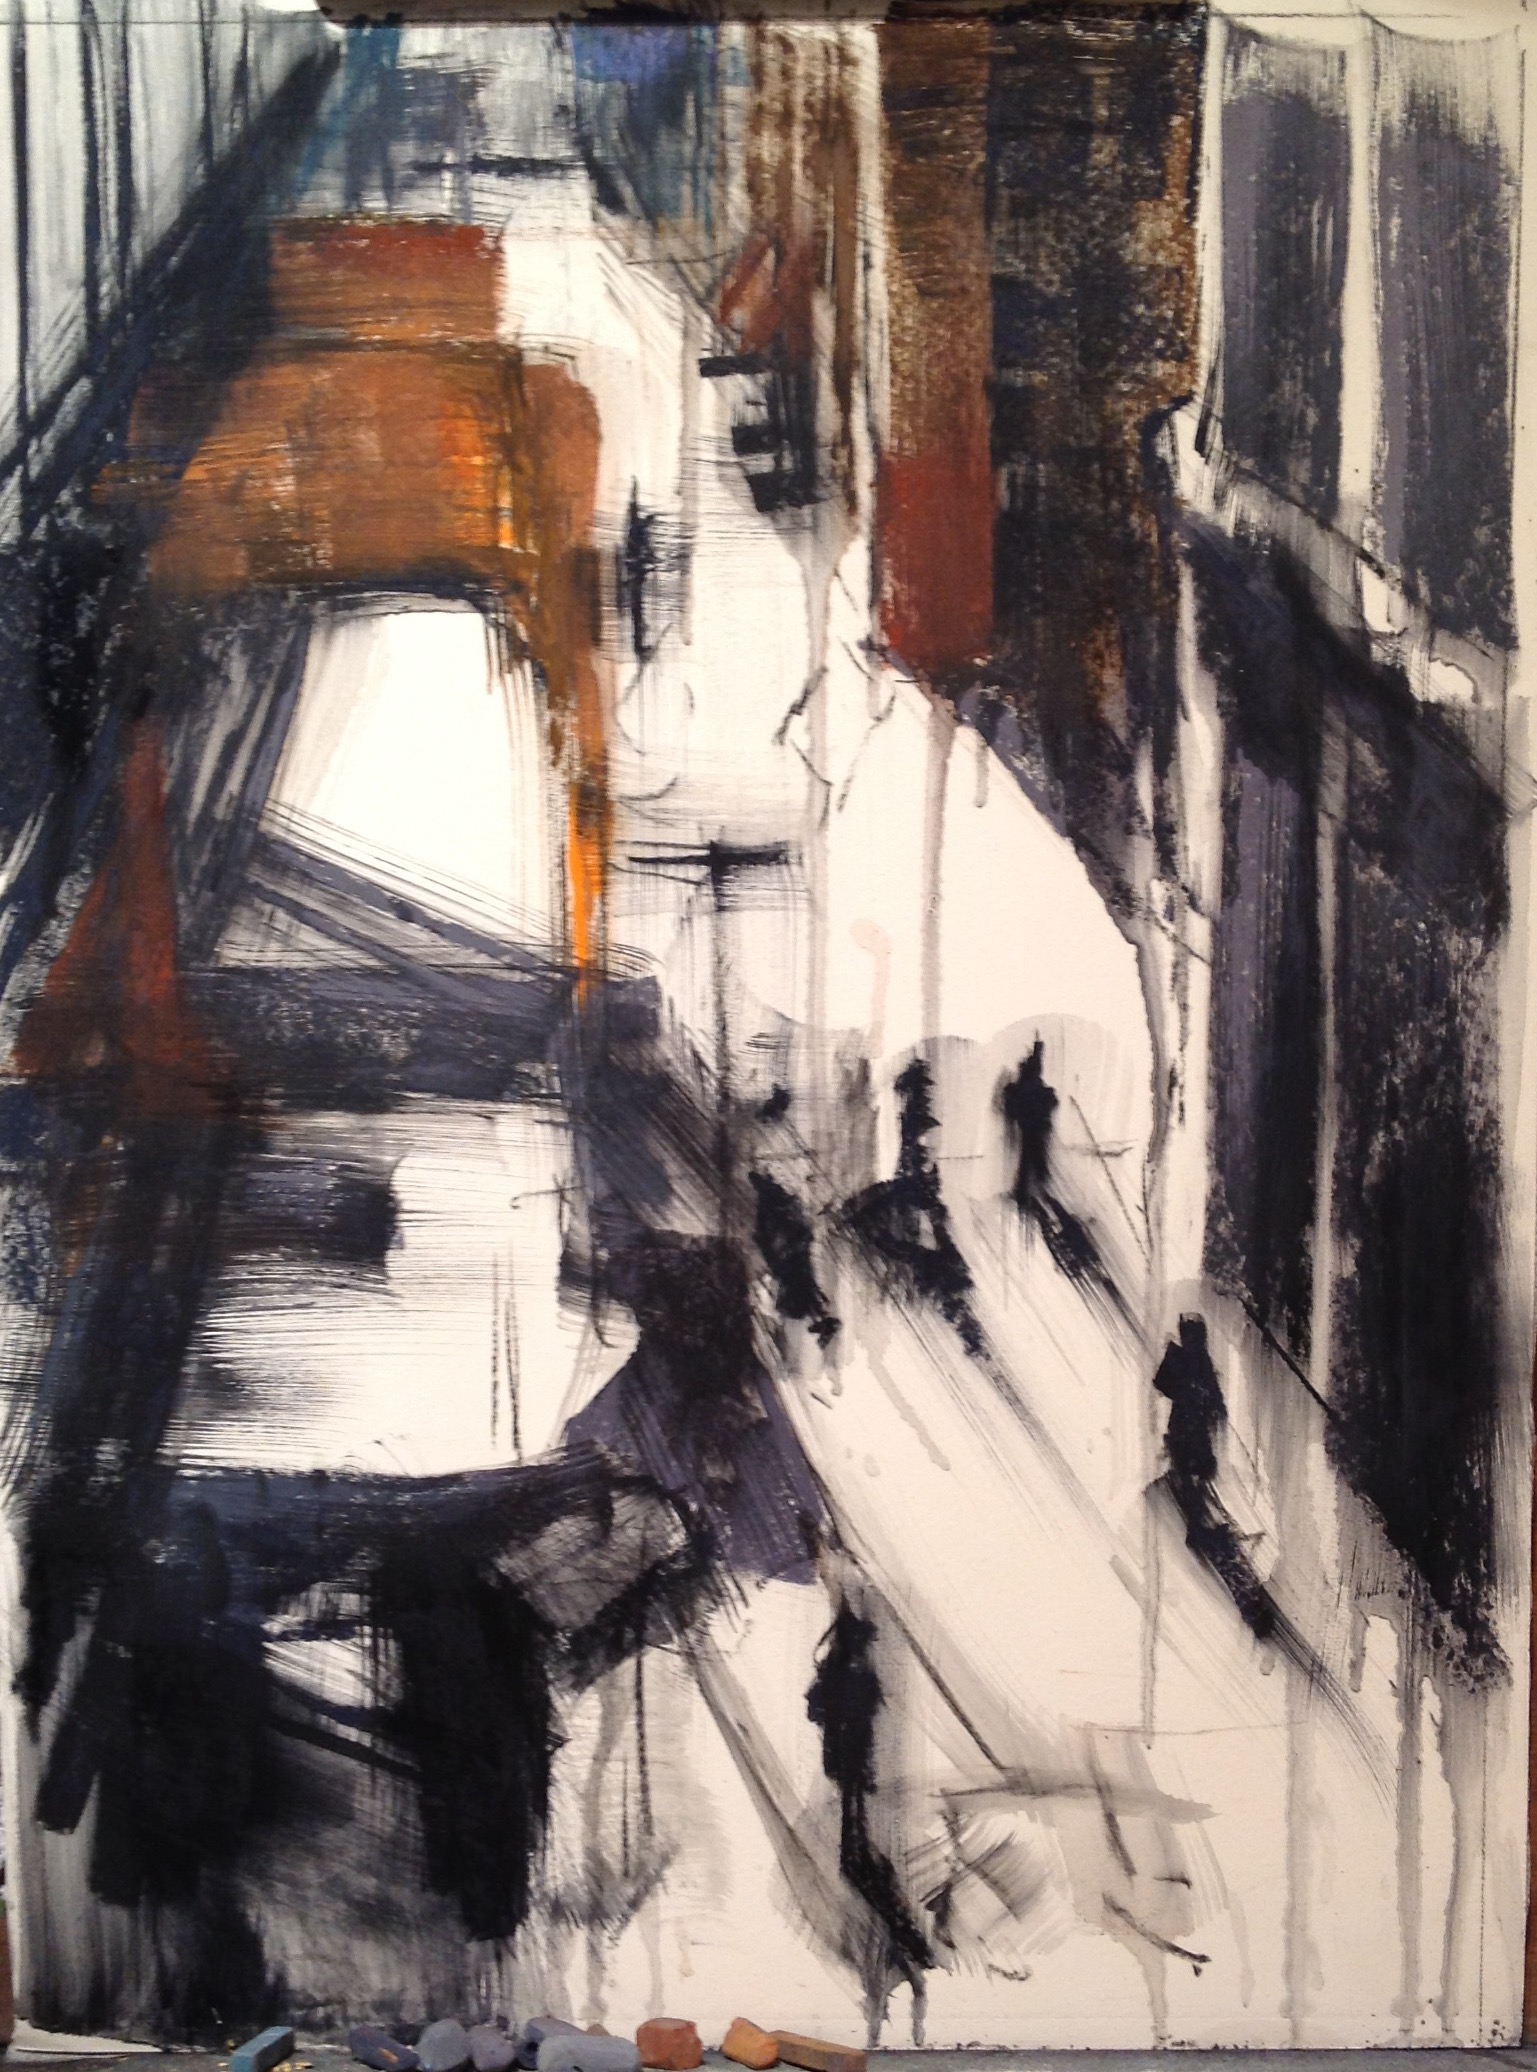
Step 3: At this stage, I get very excited about the piece and start to get a sense about whether it’s going to “work” or not. When I feel the dark shapes are correctly placed, I pour a small amount of denatured alcohol into a shallow container and brush it on loosely with a Richeson Grey Matters fan brush (I’ve found their brushes hold up best to the pumice on the paper). This procedure can be done wildly and expressively to give a hint of fine brush strokes that can be visible at the final step. Drips occur that may also remain, and the darks have now been reduced to a more transparent underpainting element that can be built upon with many layers, if needed. In my workshops, I call this “knocking-down the darks”. It’s in this step when I’m painting en plein air that viewers often lose interest and walk away, thinking I’ve totally messed-up!
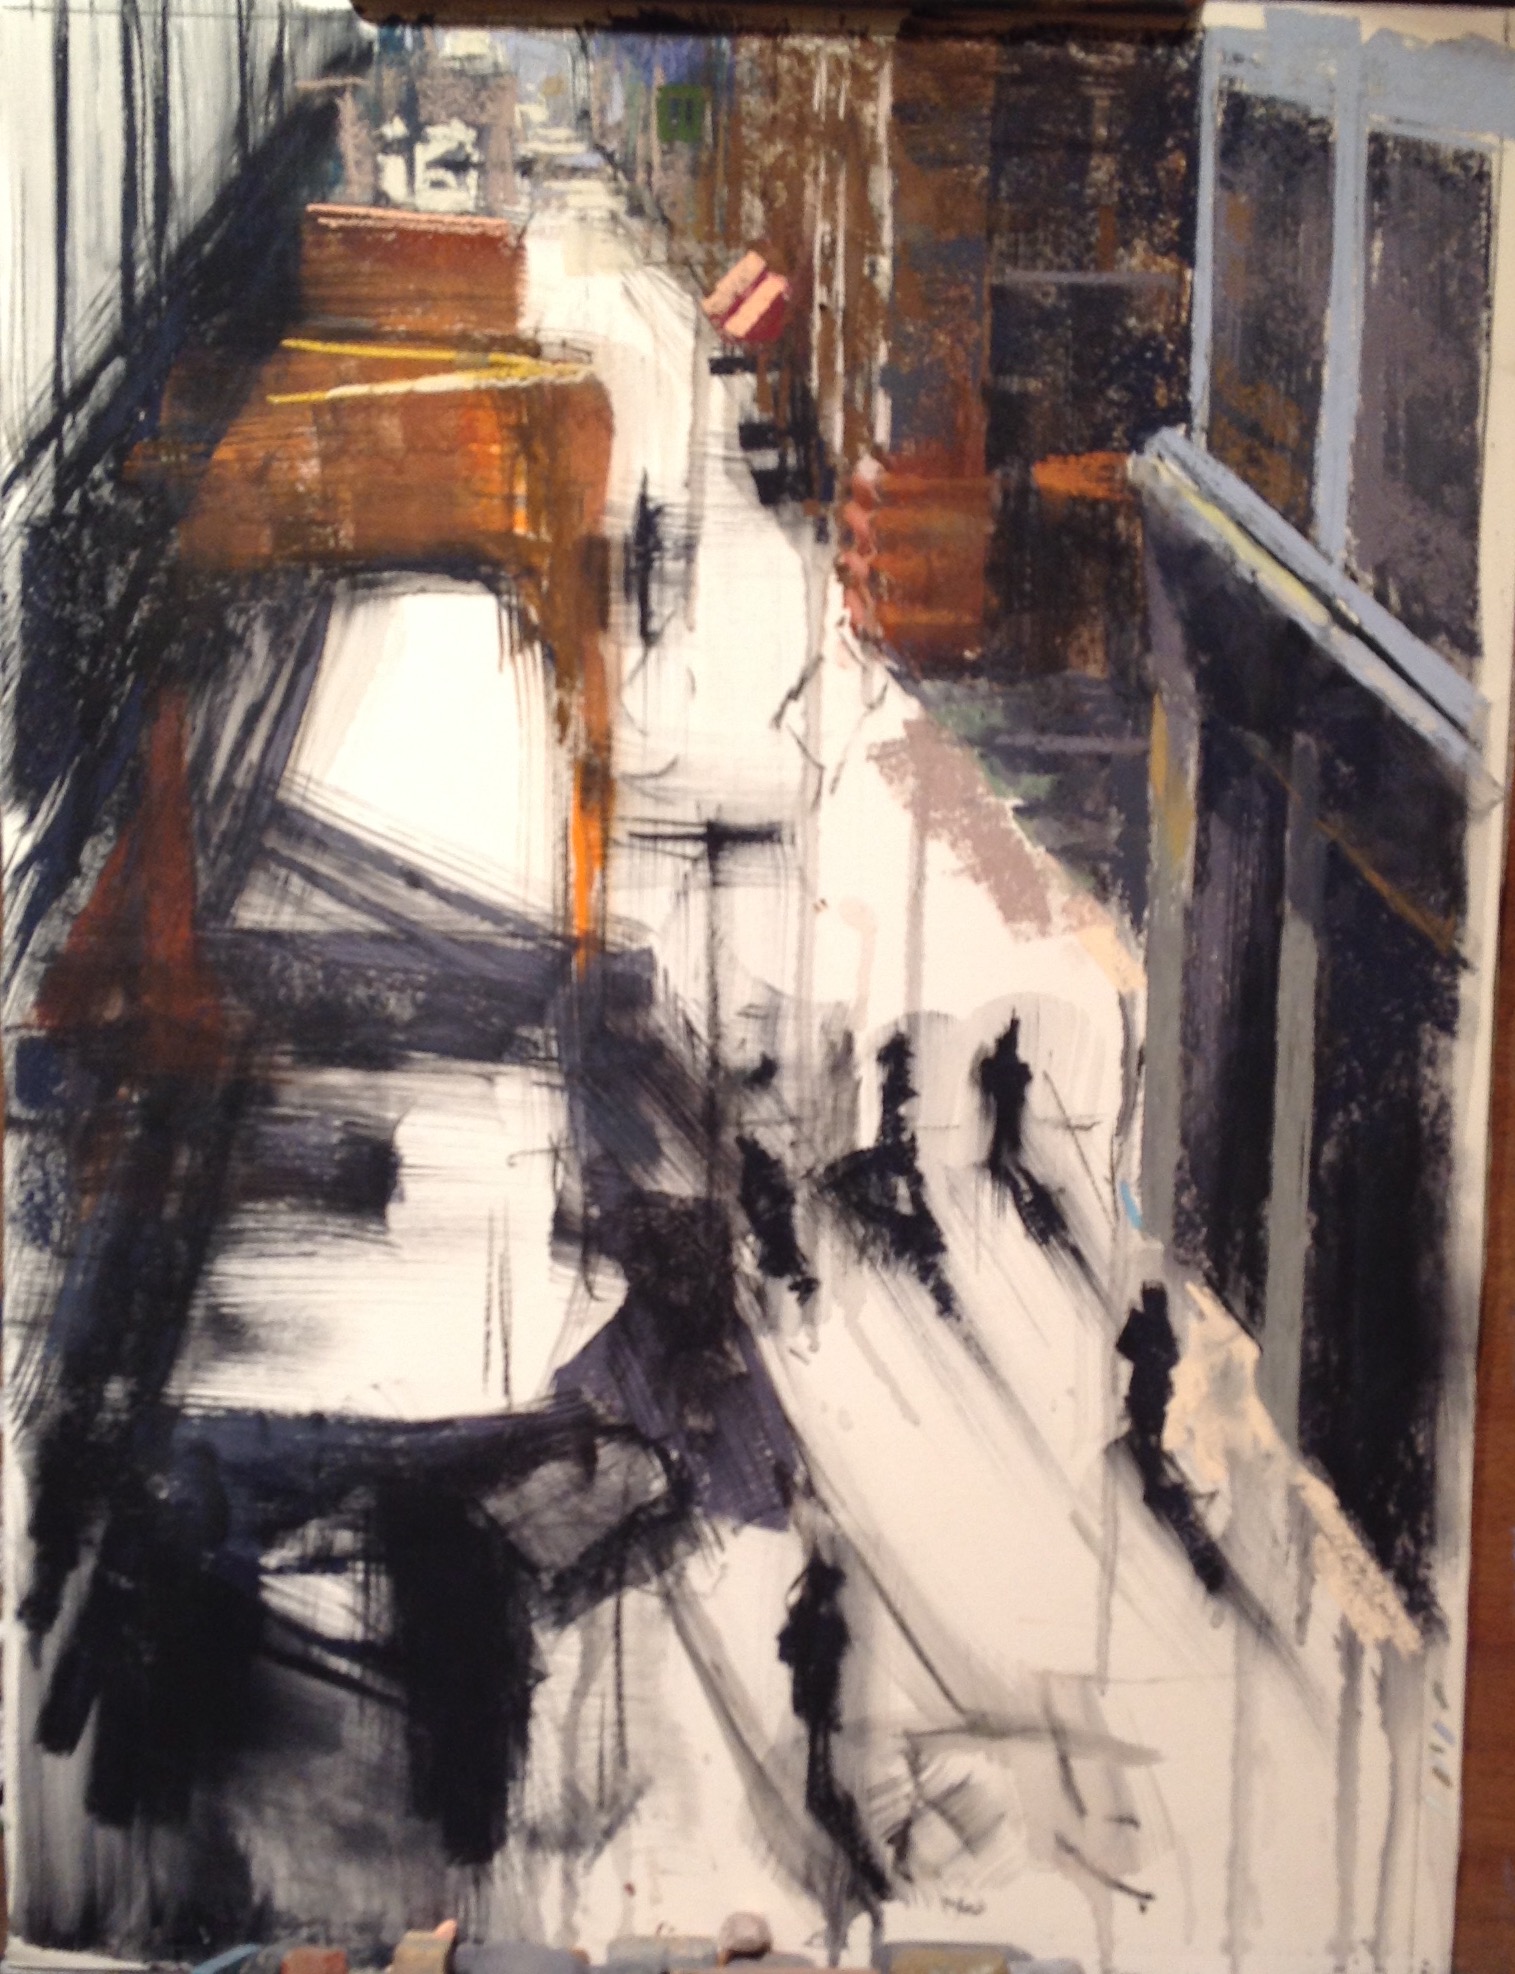
Step 4: I’m starting to add the mid-tones now and playing with a few light values, especially in the distance. The light gets cooler and offers less contrast in the distance with values keeping a close range.

Step 5: In this stage, refinement begins by adding details such as lamps, and developing the figures with their shadows. With small details, such as figures, I often carve them out of the existing dark shape by painting the negative space. Using this approach serves to solidly place the figures IN their environment rather than drawing them in, on top of their surroundings. Here, I’m also warming up the foreground, continuing to create the depth of urban space.

Step 6: ALMOST there….adding highlights, foreground details, checking shadows. This piece has been fun and fast. Having lots of plein air experience helps speed works up in the studio because we learn to make quick decisons as the light changes out in the field (or street!). Although this painting was done in my studio from a photo I took while waiting for the EL on the upper platform, I much prefer to paint on-site, to really challenge myself.

Often I’m asked which pastels I prefer, and that’s a tough call…over the years I’ve collected so many brands, and I use them all. At the recent IAPS Convention, the Jack Richeson Co. had me select an “Urban Set” that I love, and that will soon be offered on Amazon in my name. Currently I have a beginner’s set on Amazon and I’m thrilled to now have a set for established pastelists. I do use both soft and hard pastels in my work—the hard ones are especially useful when painting multiple windows in a high-rise, when a strong edge is needed, or when a portion calls for accurate, controlled drawing.

~~~
WOW!! Thanks so much Nancie for sharing your plein air painting technique with us. One of these days I’m going to be brave and paint in downtown Victoria!
Now we’d LOVE to hear from you. Let us know which is your favourite painting here and why. Have you painted in the middle of your city? If not are you inspired to do so? Let’s get a commitment and maybe we can set up some accountability partners to get this urban painting happening!
Thank you so much for joining me on this pastel painting journey.
Until next time,
~ Gail













22 thoughts on “Nancie King Mertz – Urban Architectural Painter Extraordinaire”
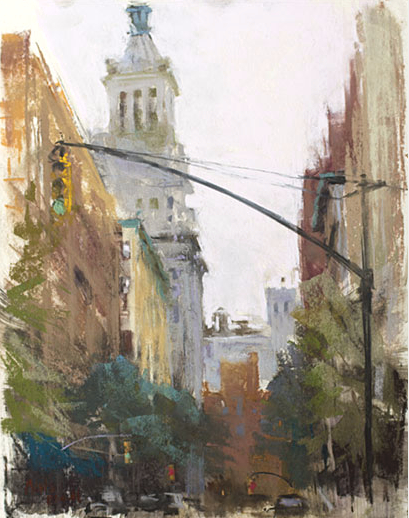
I really enjoyed this months guest blog. Especially good was Nancy’s 7 stage process through the creation of “Light Commute” which i will find very helpful even though I do mostly landscape. My favourite painting was Cojimar Car” with its beautiful use of colour in an urban scene. Thanks so much Gail and Nancy.
I know, wasn’t the seven stage process helpful? I love seeing a work emerge and understanding the thought processes that go into it. Glad you enjoyed it Wendy!
Absolutely loved seeing Nancie’s step by step progression. I usually paint in a more rural setting when working plein air, but I love the energy of these urban scenes!
You and me both Susan! Are you inspired to perhaps paint something more urban?
Wow, Gail. Thank you for taking the time to expose the work of such amazing artists, teaching at the same time. I love citiscapes with their rhythms of architectural elements, lines and movement of cars and pedestrians – so much vitality, history, texture, etc., but the thought of doing this on site is so intimidating! Thank you for sharing Nancie’s fabulous work with us and for asking her to show us her process. Watching a demo is interesting, but having an artist talk about and and share the individual steps shows the magic that is involved in the evolution of a painting from a two dimensional surface to three dimensional life. I have done that for my some of my own paintings, which is helpful for me, but also makes it easier for others to see the power that colors and values have in transforming shape to form, near to far, etc.
This was another gem! Thank you Gail and Nancie!
I agree Gill – it’s so helpful to be talked through AND shown the process of painting a picture. And I agree about being intimidated about painting in the city. I am going to start on the outskirts but I will do it! How about you??
Thank you so much Nancie for this insight, I particularly liked hearing about your process and techniques especially stage 3 with the denatured alcohol and how it helps plant your figures – I can really see that!! Your work is truly stunning, thank you so much for taking the time to share with us all. Maybe one day I’ll be brave enough to plein air but for now I’ll leave it to the professionals
Happy painting
Michele x
Thanks for commenting Michele. I am so happy to be able to share Nancie’s work here.
Wow wow wow!!! I was so inspired & excited to see Nancy’s city paintings. I live in S.C. now, but I grew up in NYC and I have photos of similar NY landscapes that I am excited to paint, especially after seeing hers. I greatly appreciate the tutorial and took it all in. Recently I attended a class on perspective and I can see all my lessons in her paintings. My faves are Light Load, Sun Tracks, and the tutorial Light Commute. They beautifully dramatize the mundane city scape with wonderful color and light. Great stuff!!! Thanks Gail for inviting these wonderful artists to share your blog.
Ruth I can feel your excitement from here! I love that Nancie’s post has inspired you to paint photos you have of NYC and that it dovetails so nicely with your lessons in perspective. Look forward to seeing what you do. And thanks for sharing your favs. I must say I am quite amazed at Sun Tracks and also Light Commute – even with the tutorial!
Loved this blog! I haven’t plein air painted in town yet. A little bit intimidated, but I do love to plein air paint. The progression photos are wonderful and Nancie King Mertz’s work is stunning. Thank you for featuring a variety of artists. It’s always informative!
Glad you enjoyed this piece by Nancie King Mertz. Maybe it will inspire you to set up closer to town. Little by little…..
Thanks Cindy!
This is an excellent post! I learned a lot. I confess, as a newbie, I don’t really know what this means: to paint the negative space. Think I will ask that question on the HTP facebook page. Thanks.
Marsha, delighted to hear you learnt a lot! Perhaps I can use your question about negative space for a Q&A video? In the meantime, you are bound to get lots of answers in the HTP Facebook group!
Congrats Gail on your award for painting blog medal!!!!
Thanks Bernadine!! Kinda cool for sure!
Thank you Gail and Nancie you for this great post. Quick story about Nancie and her ability to set up quickly anywhere. On the first day in a Cuba the bus that was to take us to our place to paint was very late. While everyone was beginning to whine, this nice looking blonde lady whips out her easel and box of pastels and starts a painting. By the time the bus came about twenty minutes later, she already had a beautiful painting halfway done. The rest of us were enviously watching and thinking why didn’t we do that. Of course it was Nancie and she continued throughout the week to do some amazing work.
Love this story Allen – thanks so much for sharing it. It certainly adds to the Nancie King Mertz mystique! A good lesson about taking action 🙂
Lovely work Nancy. Your process is really interesting. I think Sun Tracks is my favourite. It looks so real. Thank you for sharing your works and your process.
Glad you enjoyed Nancie’s guest post Ed!
Loved this – thanks Gail and Nancy!
So glad you enjoyed it Brenda!