One of the questions I’m often asked by beginning artists is, “How do I paint the background?” This says to me that the background is being considered only after the main subject has been rendered, namely, it’s an afterthought! In fact, the background is as important to the painting as the subject itself. Really.
The thing to remember is that what we’re actually painting is shapes of colour and value, created with marks in varying thicknesses. Indeed, we are creating a pattern. That pattern could just as easily be
When I approach a blank surface that will soon be covered in marks and strokes of pastel, I consider ALL parts of it. What will each part
The area around the subject (the background) supports and spotlights the subject. For that reason, the background should almost go unnoticed. If, as a viewer, we notice the background immediately, that may mean it’s competing with the main subject. There’s a fine balance between having the part of the paper that’s not the primary subject hold its own in the painting yet not compete with the object or person you’re painting.
(For the purposes of this blog post, I’m referring to backgrounds that are simple and don’t add a specific environment to the main subject, for example, the addition of a window behind a figure.)
Many of the examples I use below to illustrate my points you will have seen before, but now I want you to look at them in the

I like to start my paintings by putting in the three main values – light, middle, and dark – right away. Blocking in those three values is how I establish the overall pattern. And, of course, the background is part of those three main values shapes whether it’s a light, dark, or middle value. So right from the start, I’ve considered the background and its place as much as I have anything else in the painting.
As I paint, I work back and forth between the background (and the foreground) or the main subject. I should say here that sometimes when I refer to the background, I could also mean part of the foreground. I consider the background to be the space that surrounds the object or person being portrayed. Often, a student may wonder, how do I fill up this space? Instead, perhaps a better question may be: how can I best have this area support the main subject?

So what’s a good way to paint the background?
A good place to start is to do a thumbnail sketch, deciding where the background falls in the three value options of light, middle, and dark. Always keep in mind the question: how can I paint the background to support the subject?
You may decide to paint the background in a value that contrasts with the subject. If the subject is light, you may choose to paint the background darker to contrast with that light. The same goes for a dark subject – paint the background lighter to emphasise the darkness. You could also gradually shift the background from a dark or middle value to a light one. It’s all about how the background can illuminate the subject!
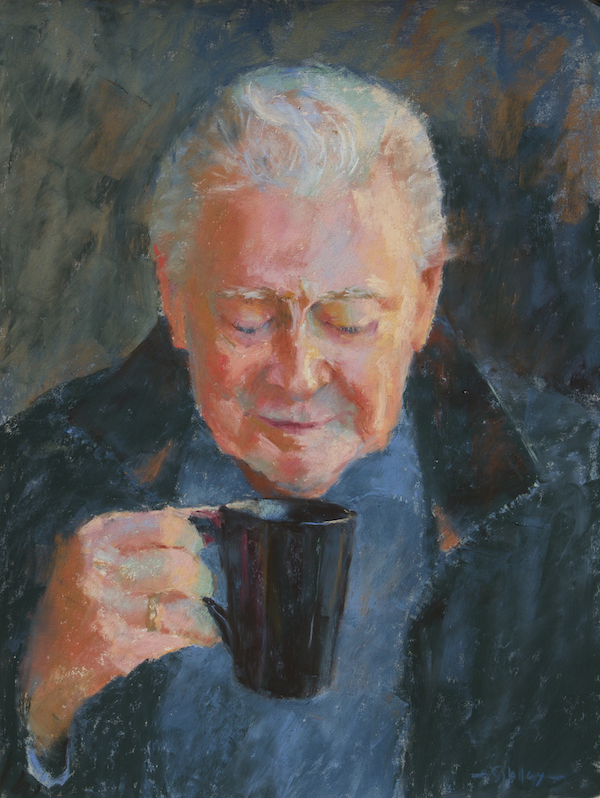
You can also create a strong contrast with colour rather than value. If you don’t feel the values of the subject and background should be different, you could insert a slight shift in colour instead. For example, you might use a complementary colour – your subject could be green and your background could be a muted reddish tone. This contrast will bring attention to the subject.

Remember that the background’s function is to show off the main subject so it’s important that
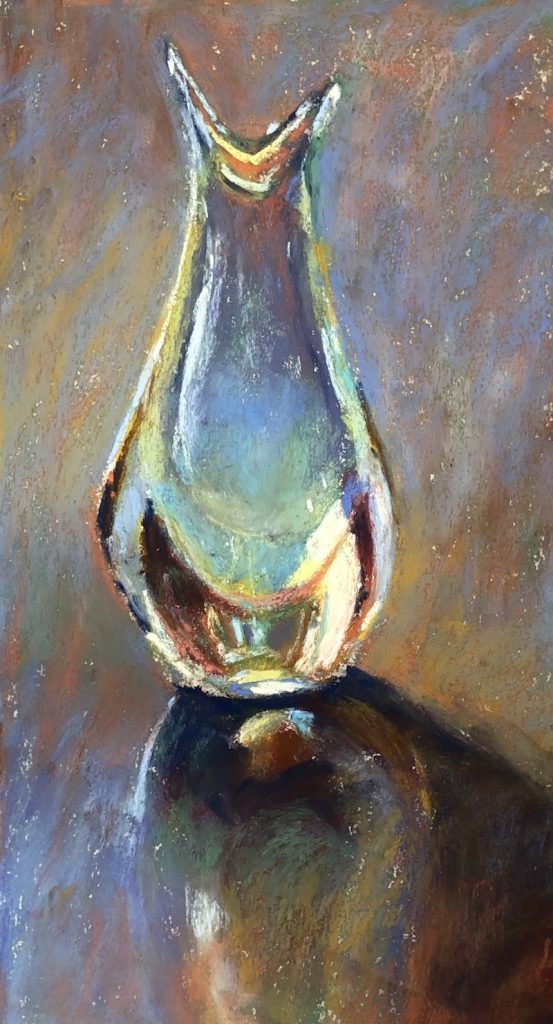
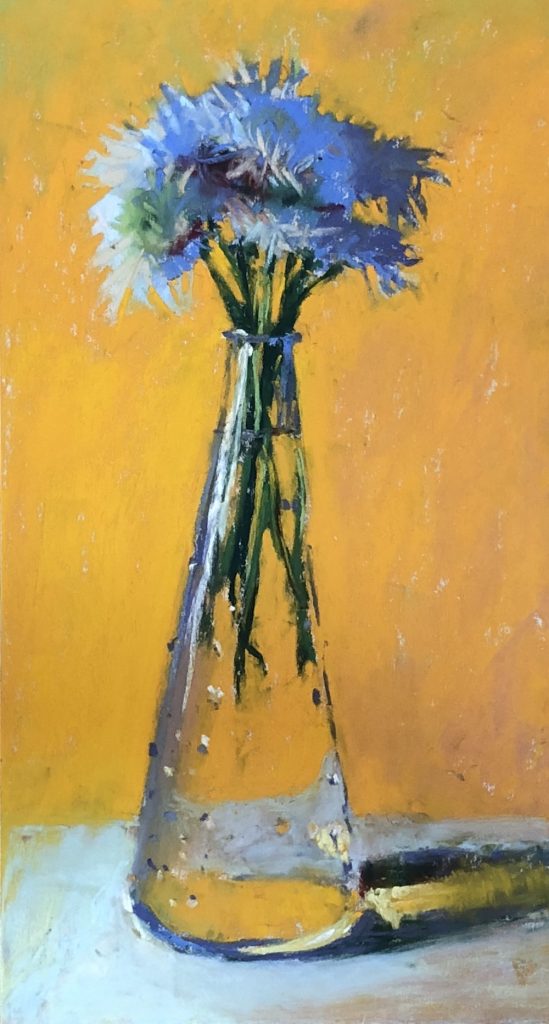
Another thing to consider when you’re deciding how to paint the background is the mood of the painting. Is it dramatic? Then maybe you want to have a strong value contrast. Is the mood light and airy? Then you probably won’t want your background too dark. Or if your painting is on the dark side, you may want to retain a darkish background. You want the background to amplify the mood of the painting rather than weaken it.
You may want to keep the colours within the background fairly close in value and hue as this lack of contrast will prevent the background from competing with the subject.
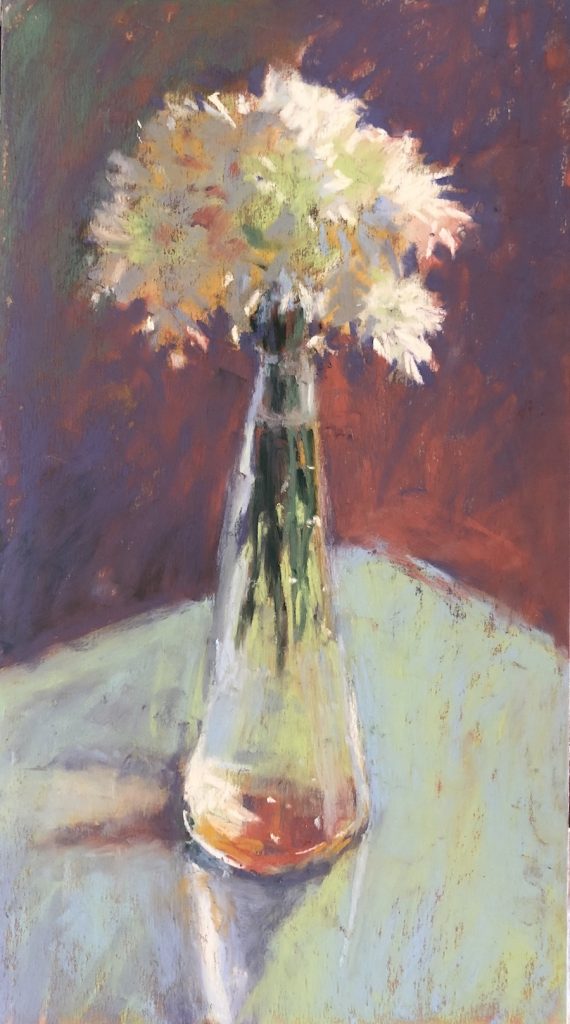
One of the reasons I like to include the background right from the start has to do with working with edges. If you only put your background in at the end, the effect may be a pasted-on appearance, with the subject having a hard edge all around it. Subject and background don’t meld and they appear disconnected from each other. Putting the background in at the same time as the subject allows you to more easily create hard and soft edges as you go and as you see fit.

By working on the background at the same time and also using some of the same colours as the main subject, you will automatically establish colour unity between all the parts. This gives the effect of everything fitting and belonging together.
Another reason to work all parts of the surface at once is that you avoid creating a background that has a different look and feel, a different mark-making than the subject. The background that has a different texture from the subject a) brings attention to it (and remember we want the background to support rather than compete with the subject) and b) reveals that the artist probably put it in as an afterthought, to fill the space.
One last thought – how much background do you really need? Does all of that surrounding space help or hinder the painting? You may find that cropping out a lot of the background is helpful! On the other hand, the subject may need the surrounding space to set it off. Try various thumbnails and see what the effect of cropping has on the subject.

Each painting you do is unique. Be sure to consider the background and its role in that painting.
Now have a look at your own work where the background doesn’t work for you. Do you see how you can paint the background differently?
I’d LOVE to hear from you so do please leave a comment! Was this helpful? Did I miss any points? Do you disagree with anything? Be sure to add to the “paint the background” conversation!
Until next time!
~ Gail
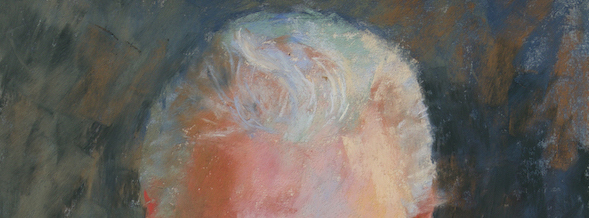
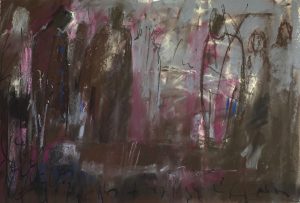
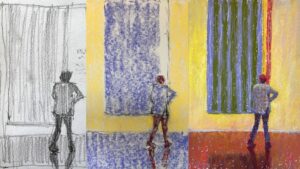
PS. You can see the progression of “His Goggles” and “Venice Backlit”
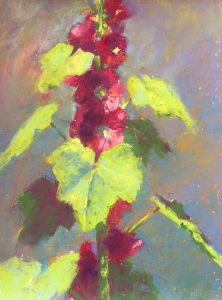
And you can see the progression of “Full on Yellow” and “Flowers in Neutral” by clicking here.














24 thoughts on “How To Paint The Background Successfully”
Thank you for a very instructive and inspiring lesson. It all makes sense to me. Also interesting how you treat the “light” face opposite of the dark face of course!
As always I also consider your choice of colour in your painting – an extra lesson I would be grateful to learn about. It is a subject you never go into in details in your instructions yet you seem sooo confident in your choices. I look at the painting of your father? that colour choice of the background is interesting not to mention the venice vase.
Thanks Susana!! Ahhh colour choices. I often think I cover that but evidently not well enough.
In the painting of Sandy – my friend rather than father (although actually older than my father!) – for the background, I chose the colours that I used to paint his jacket, skin and hair. The same thing with “Venice Backlit” – all the colours I used in the background were used in the subject too.
In choosing the colours I look closely at an object/subject and I try to see the underlying colour. If nothing shows itself then I usually pick a colour of the correct value but in the opposite temperature. So if the subject is cool, I will use a warm colour. Hope that helps a bit!
Thanks for this blog! I shall think about how my background is meant to supplement my portraits – not take focus away from them.
Awesome Lori!! And the backgrounds in your animal portraits that I saw on our call do just that!
Thanks for your insight!! Lots of great tips for dealing with backgrounds. OK!!! Time to get my hands dirty!!
So glad you think so Ruth! And yes, go pick up those pastels 😀
Thank you so much for this, Gail. Lots to put into practice here and I can immediately think of how I might fix a problematic background on a work in progress. I am so excited to be going to the Pastel Society’s London exhibition next month, and I will certainly pay particular attention to backgrounds!
That’s fantastic to hear Paula – both that the post offers you a possible solution for a problem background AND that you are going the see the Pastel Society’s London show (lucky you!) with an eye out for backgrounds and how they make the paintings work!
Hhhhhmmmm, wondering how you knew I sssooo needed this blog! It was wonderful, Gail!! Now, to put it to use! 🤔
Hah hah! You did inspire me to write this blog Elaine. Thanks!!!
Thanks for this interesting and helpful post Gail. It comes at the right moment. In fact I have had a big struggle with a background this week. My aim was to paint two yellow and green budgies standing on their cage (definitely not within my comfort zone!). At first I wanted a red background but it looked too overwhelming. I changed it to a light violet. It looked too sweet! So I put some light blue over it which looked better, but now I started to miss the red! So back with some red but only below the birds. I am almost convinced now but still not really happy with it. I haven’t finished the birds yet either – when I started I thought that was the hardest part, not the background!! …
By the way, your paintings in this post are magnificent, especially the portraits!
Thanks Gabriela for sharing your struggles with the background. It seems such a simple thing doesn’t it yet, as you discovered, painting the birds was the easier part. Love the way you tried out different colours, feeling your way to a resolution. Good luck!!
And thank you for your lovely compliment 😀
Gail thanks for sharing your knowledge. This will help me in my endeavors to paint in pastel
Would possibly be interested in getting the Pastel 101 series.
Thanks so much
Thanks Dolores. I’m always happy when I hear someone finds a post helpful.
And thank you for your interest in the Pastels 101 course. You can purchase and see if it’s right for you. If not, just let me know why within 15 days of purchase, and ask for a refund. I’m confident though about the value it offers!
thank you Gail 🙂
You are so welcome Kali!
Thanks again. Gail, for putting the needed information to us just when so many of us were waiting for it!
There is much food for thought here and I’m planning to come back and nibble again!
So happy to know you found it useful Wendy! Love your food analogy 😀
Brilliant, I will look at all my paintings again and learn another technique.
This has made me look at backgrounds with a new look.
That is so super to hear Clarissa! Love to think of you looking at backgrounds with a new eye. 🙂
Thank you for this very helpful post on backgrounds. I have been pasteling for years but this is a good reminder to make backgrounds an integral part of the painting from the beginning. I think I will be referring back to this post frequently as I get back into painting after our long summery holiday break here in New Zealand!
And I love your portraits!
This is my first comment on your blog though I have been reading and benefiting from your generous advice for a few years. Thank you again.
First off, thank you for popping in to leave a comment and for admitting this is your first time to do so despite reading over the years! Hope to see you again soon Raewyn!
So glad this was helpful and will be useful as you get back into painting full swing.
And thank you for the compliment 😀
You never fail to teach me something! Excellent lesson. Have you ever thought of publishing a book with all these wonderful lessons in them? It makes having the information right at hand. I couldn’t find your blog on a google search but was so happy I kept the email I get from you. Thanks, Marsha Schauer
Yay Marsha!
And thanks for the book idea. Maybe I should compile a number of learning blog posts into an ebook. What do you think?
That’s unfortunate about not finding the blog in a Google search. What phrase/words did you search with?